
Ask your question and get a summary of the document by referencing this page and the AI provider of your choice
Version History
- "Update Solid useIntlayer API usage to direct property access"v8.9.05/4/2026
- "Update compiler options, add FilePathPattern support"v8.2.03/9/2026
- "Initial release"v8.1.62/23/2026
If you have an idea for improving this documentation, please feel free to contribute by submitting a pull request on GitHub.
GitHub link to the documentationCopy doc Markdown to clipboard
How to make multilingual (i18n) an existing Next.js application afterward (i18n guide 2026)
See Application Template on GitHub.
Table of Contents
Why is it hard to internationalize an existing application?
If you've ever tried to add multiple languages to an app that was built for just one, you know the pain. It's not just "hard", it's tedious. You have to comb through every single file, hunt down every string of text, and move them into separate dictionary files.
Then comes the risky part: replacing all that text with code hooks without breaking your layout or logic. It's the kind of work that halts new feature development for weeks and feels like endless refactoring.
What is the Intlayer Compiler?
The Intlayer Compiler was built to skip that manual grunt work. Instead of you manually extracting strings, the compiler does it for you. It scans your code, finds the text, and uses AI to generate the dictionaries behind the scenes. Then, it modifies your code during the build to inject the necessary i18n hooks. Basically, you keep writing your app as if it's single-language, and the compiler handles the multilingual transformation automatically.
Doc Compiler: /doc/compiler
Limitations
Because the compiler performs code analysis and transformation (inserting hooks and generating dictionaries) at compile time, it can slow down the build process of your application.
To mitigate this impact during development, you can configure the compiler to run in 'build-only' mode or disable it when not needed.
Step-by-Step Guide to Set Up Intlayer in a Next.js Application
Install Dependencies
Install the necessary packages using npm:
bashCopy codeCopy the code to the clipboard
intlayer
The core package that provides internationalization tools for configuration management, translation, content declaration, transpilation, and CLI commands.
next-intlayer
The package that integrates Intlayer with Next.js. It provides context providers and hooks for Next.js internationalization. Additionally, it includes the Next.js plugin for integrating Intlayer with Webpack or Turbopack, as well as proxy for detecting the user's preferred locale, managing cookies, and handling URL redirection.
Configure Your Project
Create a config file to configure the languages of your application:
intlayer.config.tsCopy codeCopy the code to the clipboard
Note: Ensure you have your
OPEN_AI_API_KEYset in your environment variables.Through this configuration file, you can set up localized URLs, proxy redirection, cookie names, the location and extension of your content declarations, disable Intlayer logs in the console, and more. For a complete list of available parameters, refer to the configuration documentation.
Integrate Intlayer in Your Next.js Configuration
Configure your Next.js setup to use Intlayer:
next.config.tsCopy codeCopy the code to the clipboard
The
withIntlayer()Next.js plugin is used to integrate Intlayer with Next.js. It ensures the building of content declaration files and monitors them in development mode. It defines Intlayer environment variables within the Webpack or Turbopack environments. Additionally, it provides aliases to optimize performance and ensures compatibility with server components.Configure Babel
The Intlayer compiler requires Babel to extract and optimize your content. Update your
babel.config.js(orbabel.config.json) to include the Intlayer plugins:babel.config.jsCopy codeCopy the code to the clipboard
Detect Locale in your pages
Remove everything from
RootLayoutand replace it with the following code:src/app/layout.tsxCopy codeCopy the code to the clipboard
Compile your components
With the compiler enabled, you no longer need to manually declare content dictionaries (like
.content.tsfiles).Instead, you can write your content directly in your code as strings. Intlayer will analyze your code, generate the translations using the configured AI provider, and replace the strings with localized content at compile time.
Just write your components with hardcoded strings in your default locale. The compiler handles the rest.
Example of how your page might look:
src/app/page.tsxCopy codeCopy the code to the clipboard
IntlayerClientProvideris used to provide the locale to client-side components.IntlayerServerProvideris used to provide the locale to the server children.Layout and page cannot share a common server context because the server context system is based on a per-request data store (via React's cache mechanism), causing each "context" to be re-created for different segments of the application. Placing the provider in a shared layout would break this isolation, preventing the correct propagation of the server context values to your server components.
Fill missing translation
OptionalIntlayer provide a CLI tool to help you fill missing translations. You can use the
intlayercommand to test and fill missing translations from your code.bashCopy codeCopy the code to the clipboard
bashCopy codeCopy the code to the clipboard
For more details, refer to the CLI documentation
Configure Proxy for Locale Detection
OptionalSet up proxy to detect the user's preferred locale:
src/proxy.tsCopy codeCopy the code to the clipboard
The
intlayerProxyis used to detect the user's preferred locale and redirect them to the appropriate URL as specified in the configuration. Additionally, it enables saving the user's preferred locale in a cookie.Change the language of your content
OptionalTo change the language of your content in Next.js, the recommended way is to use the
Linkcomponent to redirect users to the appropriate localized page. TheLinkcomponent enables prefetching of the page, which helps avoid a full page reload.src/components/localeSwitcher/LocaleSwitcher.tsxCopy codeCopy the code to the clipboard
An alternative way is to use the
setLocalefunction provided by theuseLocalehook. This function will not allow prefetching the page. See theuseLocalehook documentation for more details.Optimize your bundle size
OptionalWhen using
next-intlayer, dictionaries are included in the bundle for every page by default. To optimize bundle size, Intlayer provides an optional SWC plugin that intelligently replaceuseIntlayercalls using macros. This ensures dictionaries are only included in bundles for pages that actually use them.The
@intlayer/babelplugin already integrate the bundling optimization (seebabel.config.js). But the@intlayer/swcplugin is more performant. If you remove the@intlayer/babelplugin, you can use the@intlayer/swcplugin.Install the
@intlayer/swcpackage. Once installed,next-intlayerwill automatically detect and use the plugin:bashCopy codeCopy the code to the clipboard
Note: This optimization is only available for Next.js 13 and above.
Note: This package is not installed by default because SWC plugins are still experimental on Next.js. It may change in the future.
Note: If you set the option as
importMode: 'dynamic'orimportMode: 'fetch'(in thedictionaryconfiguration), it will rely on Suspense, so you will have to wrap youruseIntlayercalls in aSuspenseboundary. That means, you will not be able to use theuseIntlayerdirectly at the top level of your Page / Layout component.Extract the content of your components
OptionalIf you have an existing codebase, transforming thousands of files can be time-consuming.
To ease this process, Intlayer propose a compiler / extractor to transform your components and extract the content.
To set it up, you can add a
compilersection in yourintlayer.config.tsfile:intlayer.config.tsCopy codeCopy the code to the clipboard
import { type IntlayerConfig } from "intlayer"; const config: IntlayerConfig = { // ... Rest of your config compiler: { /** * Indicates if the compiler should be enabled. */ enabled: true, /** * Defines the output files path */ output: ({ fileName, extension }) => `./${fileName}${extension}`, /** * Indicates if the components should be saved after being transformed. * * - If `true`, the compiler will rewrite the component file in the disk. So the transformation will be permanent, and the compiler will skip the transformation for the next process. That way, the compiler can transform the app, and then it can be removed. * * - If `false`, the compiler will inject the `useIntlayer()` function call into the code in the build output only, and keep the base codebase intact. The transformation will be done only in memory. */ saveComponents: false, /** * Dictionary key prefix */ dictionaryKeyPrefix: "", }, }; export default config;Run the extractor to transform your components and extract the content
bashCopy codeCopy the code to the clipboard
Configure TypeScript
Intlayer use module augmentation to get benefits of TypeScript and make your codebase stronger.

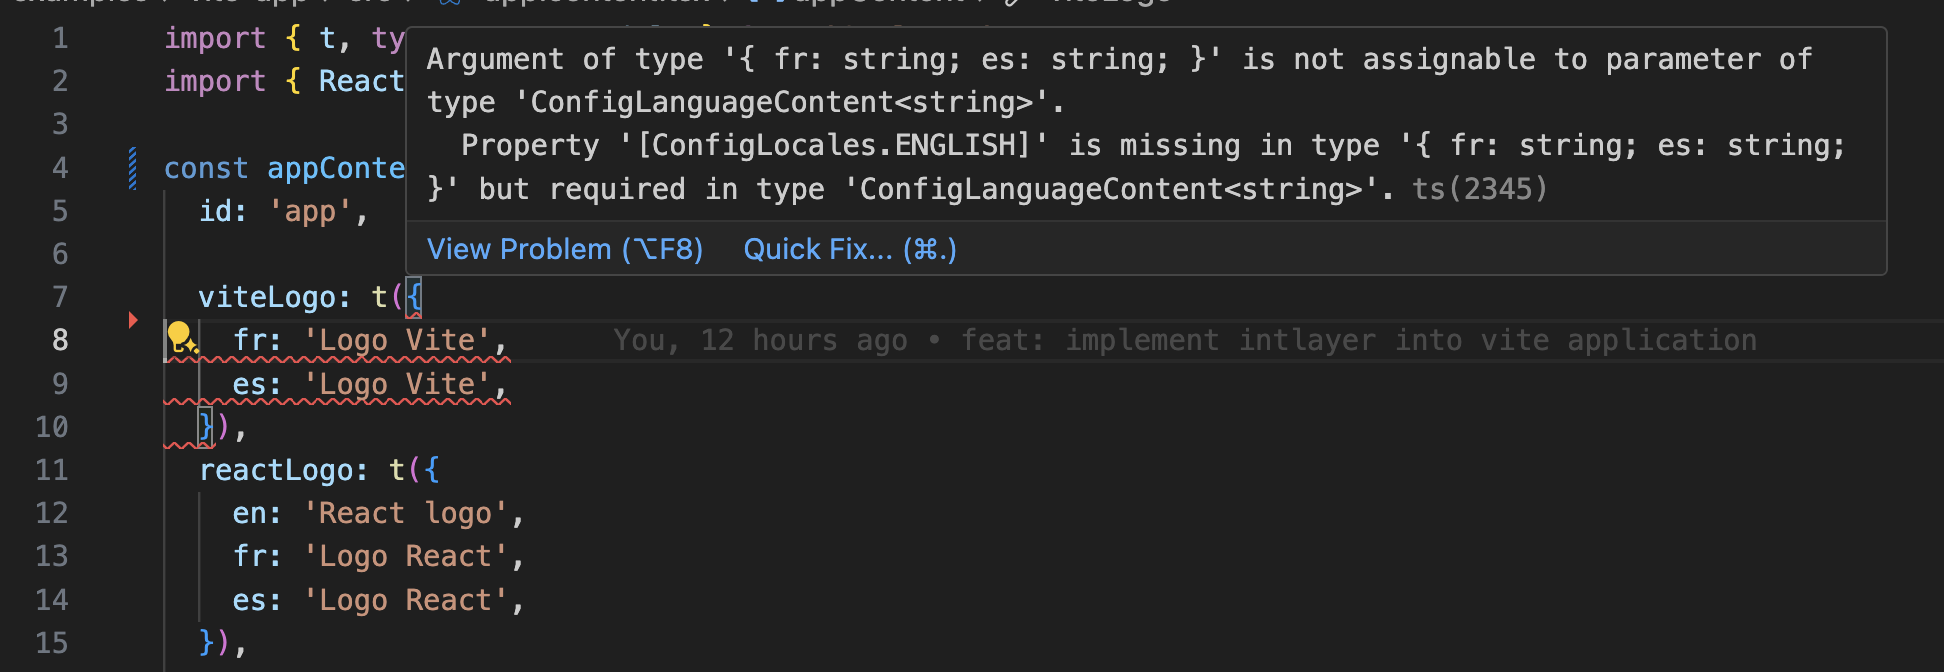
Ensure your TypeScript configuration includes the autogenerated types.
Copy the code to the clipboard
Git Configuration
It is recommended to ignore the files generated by Intlayer. This allows you to avoid committing them to your Git repository.
To do this, you can add the following instructions to your .gitignore file:
Copy the code to the clipboard
VS Code Extension
To improve your development experience with Intlayer, you can install the official Intlayer VS Code Extension.
Install from the VS Code Marketplace
This extension provides:
- Autocompletion for translation keys.
- Real-time error detection for missing translations.
- Inline previews of translated content.
- Quick actions to easily create and update translations.
For more details on how to use the extension, refer to the Intlayer VS Code Extension documentation.
Go Further
To go further, you can implement the visual editor or externalize your content using the CMS.