
Ask your question and get a summary of the document by referencing this page and the AI provider of your choice
Version History
- "Add live sync documentation"v6.0.19/22/2025
- "Replace `hotReload` field by `liveSync`"v6.0.09/4/2025
- "Init history"v5.5.106/29/2025
If you have an idea for improving this documentation, please feel free to contribute by submitting a pull request on GitHub.
GitHub link to the documentationCopy doc Markdown to clipboard
Intlayer Content Management System (CMS) Documentation
The Intlayer CMS is an Application that allows you to externalize your content of an Intlayer project.
For that, Intlayer introduce the concept of 'distant dictionaries'.
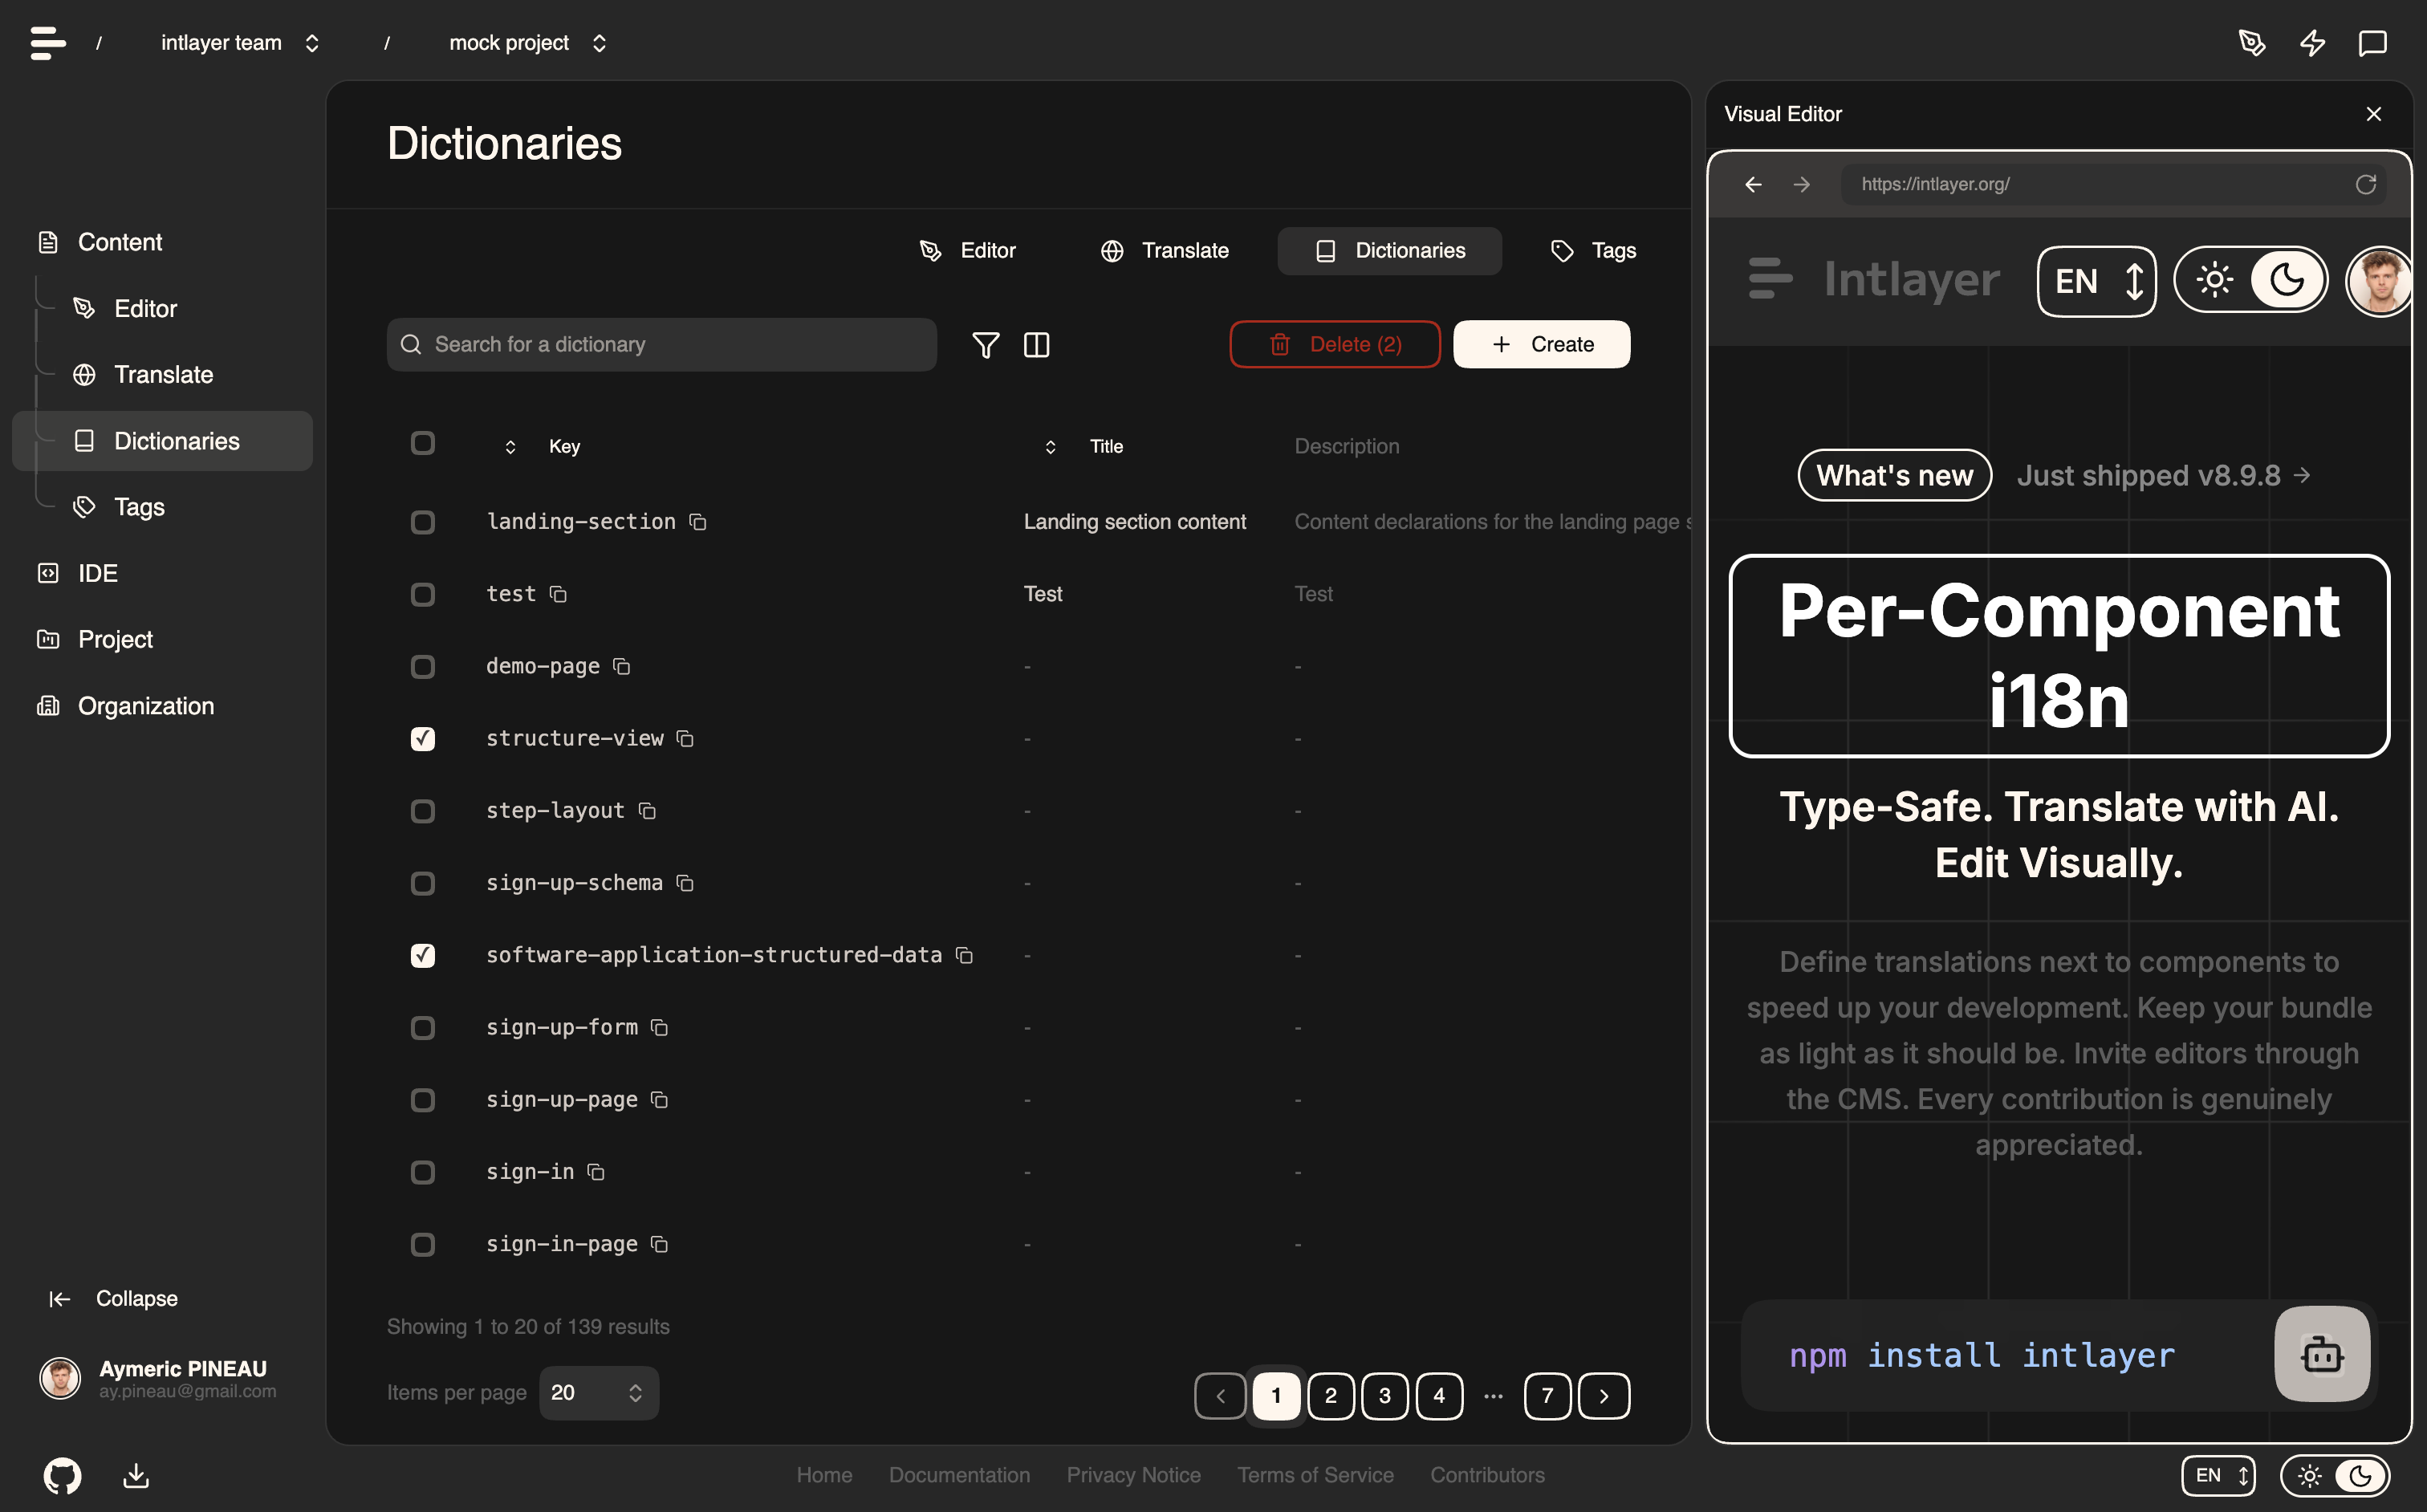
Table of Contents
Understanding distant dictionaries
Intlayer make a difference between 'local' and 'remote' dictionaries.
A 'local' dictionary is a dictionary that is declared in your Intlayer project. Such as the declaration file of a button, or your navigation bar. Externalizing your content do not make sense in this case because this content is not supposed to change often.
A 'remote' dictionary is a dictionary that is managed through the Intlayer CMS. It could be useful to allow your team to manage your content in direct on your website, and also aims to use A/B testing features and SEO automatic optimization.
Visual editor vs CMS
The Intlayer Visual editor is a tool that allows you to manage your content in a visual editor for local dictionaries. Once a change is made, the content will be replaced in the code-base. That means that the application will be rebuilt and the page will be reloaded to display the new content.
In contrast, the Intlayer CMS is a tool that allows you to manage your content in a visual editor for distant dictionaries. Once a change is made, the content will not impact your code-base. And the website will automatically display the changed content.
Integrating
For more details on how to install the package, see the relevant section below:
Integrating with Next.js
For integration with Next.js, refer to the setup guide.
Integrating with Create React App
For integration with Create React App, refer to the setup guide.
Integrating with Vite + React
For integration with Vite + React, refer to the setup guide.
Configuration
Run the following command to login to the Intlayer CMS:
Copy the code to the clipboard
This will open your default browser to complete the authentication process and receive the necessary credentials (Client ID and Client Secret) to use Intlayer services.
In your Intlayer configuration file, you can customize the CMS settings:
Copy the code to the clipboard
import type { IntlayerConfig } from "intlayer";

const config: IntlayerConfig = {
  // ... other configuration settings
  editor: {
    /**
     * Required
     *
     * The URL of the application.
     * This is the URL targeted by the visual editor.
     */
    applicationURL: process.env.INTLAYER_APPLICATION_URL,

    /**
     * Required
     *
     * Client ID and client secret are required to enable the editor.
     * They allow the identify the user who is editing the content.
     * They can be obtained by creating a new client in the Intlayer Dashboard - Projects (https://app.intlayer.org/projects).
     * clientId: process.env.INTLAYER_CLIENT_ID,
     * clientSecret: process.env.INTLAYER_CLIENT_SECRET,
     */
    clientId: process.env.INTLAYER_CLIENT_ID,
    clientSecret: process.env.INTLAYER_CLIENT_SECRET,

    /**
     * Optional
     *
     * In the case you are self-hosting the Intlayer CMS, you can set the URL of the CMS.
     *
     * The URL of the Intlayer CMS.
     * By default, it is set to https://intlayer.org
     */
    cmsURL: process.env.INTLAYER_CMS_URL,

    /**
     * Optional
     *
     * In the case you are self-hosting the Intlayer CMS, you can set the URL of the backend.
     *
     * The URL of the Intlayer CMS.
     * By default, it is set to https://back.intlayer.org
     */
    backendURL: process.env.INTLAYER_BACKEND_URL,
  },
};

export default config;
If you don't have a client ID and client secret, you can obtain them by creating a new client in the Intlayer Dashboard - Projects.
To see all available parameters, refer to the configuration documentation.
Using the CMS
Push your configuration
To configure the Intlayer CMS, you can use the intlayer CLI commands.
Copy the code to the clipboard
If you use environment variables in yourintlayer.config.tsconfiguration file, you can specify the desired environment using the--envargument:
Copy the code to the clipboard
This command uploads your configuration to the Intlayer CMS.
Push a dictionary
To transform your locale dictionaries in a distant dictionary, you can use the intlayer CLI commands.
Copy the code to the clipboard
If you use environment variables in yourintlayer.config.tsconfiguration file, you can specify the desired environment using the--envargument:
Copy the code to the clipboard
This command uploads your initial content dictionaries, making them available for asynchronous fetching and editing through the Intlayer platform.
Edit the dictionary
Then you will be able to see and manage your dictionary in the Intlayer CMS.
Live sync
Live Sync lets your app reflect CMS content changes at runtime. No rebuild or redeploy required. When enabled, updates are streamed to a Live Sync server that refreshes the dictionaries your application reads.
Enable Live Sync by updating your Intlayer configuration:
Copy the code to the clipboard
import type { IntlayerConfig } from "intlayer";

const config: IntlayerConfig = {
  // ... other configuration settings
  editor: {
    /**
     * Enables hot reloading of locale configurations when changes are detected.
     * For example, when a dictionary is added or updated, the application updates
     * the content displayed on the page.
     *
     * Because hot reloading requires a continuous connection to the server, it is
     * only available for clients of the `enterprise` plan.
     *
     * Default: false
     */
    liveSync: true,
  },
  dictionary: {
    /**
     * Controls how dictionaries are imported:
     *
     * - "fetch": Dictionaries are fetched dynamically using the Live Sync API.
     *   Replaces useIntlayer with useDictionaryDynamic.
     *
     * Note: Live mode uses the Live Sync API to fetch dictionaries. If the API call
     * fails, dictionaries are imported dynamically.
     * Note: Only dictionaries with remote content and "live" flags use live mode.
     * Others use dynamic mode for performance.
     */
    importMode: "fetch",
  },
};

export default config;
Start the Live Sync server to wrap your application:
Example using standalone server:
Copy the code to the clipboard
You can also use your application server in parallel using the --process argument.
Example using Next.js:
Copy the code to the clipboard
Example using Vite:
Copy the code to the clipboard
The Live Sync server wraps your application and automatically applies updated content as it arrives.
To receive change notifications from the CMS, the Live Sync server maintains an SSE connection to the backend. When content changes in the CMS, the backend forwards the update to the Live Sync server, which writes the new dictionaries. Your application will reflect the update on the next navigation or browser reload, no rebuild required.
Flow chart (CMS/Backend -> Live Sync Server -> Application Server -> Frontend):

How it works:

Development workflow (local)
- In development, all remote dictionaries are fetched when the application starts, so you can test updates quickly.
- To test Live Sync locally with Next.js, wrap your dev server:
Copy the code to the clipboard
Enable optimization so Intlayer applies the Live import transformations during development:
Copy the code to the clipboard
import type { IntlayerConfig } from "intlayer";

const config: IntlayerConfig = {
  editor: {
    applicationURL: "http://localhost:5173",
    liveSyncURL: "http://localhost:4000",
    liveSync: true,
  },
  dictionary: {
    importMode: "fetch",
  },
  build: {
    optimize: true, // default: process.env.NODE_ENV === 'production'
  },
};

export default config;
This setup wraps your dev server with the Live Sync server, fetches remote dictionaries at startup, and streams updates from the CMS via SSE. Refresh the page to see changes.
Notes and constraints:
- Add the live sync origin to your site security policy (CSP). Ensure the live sync URL is allowed in
connect-src(andframe-ancestorsif relevant). - Live Sync does not work with static output. For Next.js, the page must be dynamic to receive updates at runtime (e.g., use
generateStaticParams,generateMetadata,getServerSideProps, orgetStaticPropsappropriately to avoid full static-only constraints). - In the CMS, each dictionary has a
liveflag. Only dictionaries withlive=trueare fetched via the live sync API; others are imported dynamically and remain unchanged at runtime. - The
liveflag is evaluated for each dictionary at build time. If remote content wasn't flaggedlive=trueduring build, you must rebuild to enable Live Sync for that dictionary. - The live sync server must be able to write to
.intlayer. In containers, ensure write access to/.intlayer.
Debug
If you encounter any issues with the CMS, check the following:
The application is running.
The
editorconfiguration are correctly set in your Intlayer configuration file.- Required fields:
- The application URL should match the one you set in the editor configuration (
applicationURL). - The CMS URL
- The application URL should match the one you set in the editor configuration (
- Required fields:
Ensure that the project configuration was pushed to the Intlayer CMS.
The visual editor use an iframe to display your website. Ensure that the Content Security Policy (CSP) of your website allows the CMS url as
frame-ancestors('https://app.intlayer.org' by default). Check the editor console for any error.