
使用您最喜欢的AI助手总结文档,并引用此页面和AI提供商
版本历史
- "更新 Solid useIntlayer API 用法以直接访问属性"v8.9.02026/5/4
- "添加 init 命令"v7.5.92025/12/30
- "初始化历史"v5.5.102025/6/29
此页面的内容已使用 AI 翻译。
查看英文原文的最新版本如果您有改善此文档的想法,请随时通过在GitHub上提交拉取请求来贡献。
文档的 GitHub 链接复制文档 Markdown 到剪贴板
使用 Intlayer 翻译您的 Vite 和 Preact 网站 | 国际化 (i18n)
目录
为什么选择 Inlayer 而不是替代品?
与preact-i18n或i18next等主要解决方案相比,Intlayer是一个具有集成优化的解决方案,例如:
完整的 Preact 覆盖
Intlayer 经过优化,可与 Preact 完美配合,提供组件级内容范围、延迟加载翻译以及扩展国际化 (i18n) 所需的所有功能。
捆绑尺寸
不要将大量 JSON 文件加载到页面中,而只需加载必要的内容。 Intlayer 有助于将捆绑包和页面大小减少多达 50%。
可维护性
确定应用程序内容的范围有利于大型应用程序的维护。您可以复制或删除单个功能文件夹,而无需承担检查整个内容代码库的精神负担。此外,Intlayer 具有完全类型化 (fully typed),以确保您的内容的准确性。
人工智能代理
共置内容减少大型语言模型 (LLM) 所需的上下文。 Intlayer 还附带了一套工具,例如用于测试缺失翻译的 CLI、LSP、MCP 和 agent技能,使 AI 代理的开发者体验 (DX) 更加流畅。
自动化
使用您选择的法学硕士,通过自动化在 CI/CD 管道中进行翻译,而费用由您的 AI 提供商承担。 Intlayer 还提供了一个编译器来自动提取内容,以及一个网络平台来帮助在后台翻译。
表现
将大量 JSON 文件连接到组件可能会导致性能和反应性问题。 Intlayer 可在构建时 (build time)优化您的内容加载。
无需开发即可扩展
Intlayer 不仅仅是一个 i18n 解决方案,还提供了一个自托管的可视化编辑器和一个完整的 CMS 来帮助您管理多语言内容实时,与译员、文案人员和其他团队成员无缝协作。内容可以本地和/或远程存储。
在 Vite 和 Preact 应用程序中设置 Intlayer 的分步指南
请参阅 GitHub 上的 应用程序模板。
第 1 步:安装依赖项
使用 npm 安装必要的包:
复制代码到剪贴板
intlayer
preact-intlayer
将 Intlayer 与 Preact 应用程序集成的包。它为 Preact 国际化提供上下文提供者和钩子。
vite-intlayer
包含用于将 Intlayer 与 Vite 打包器 集成的 Vite 插件,以及用于检测用户首选语言环境、管理 cookie 和处理 URL 重定向的中间件。
第 2 步:配置项目
创建一个配置文件来配置应用程序的语言:
复制代码到剪贴板
import { Locales, type IntlayerConfig } from "intlayer";

const config: IntlayerConfig = {
  internationalization: {
    locales: [
      Locales.ENGLISH,
      Locales.FRENCH,
      Locales.SPANISH,
      // 您的其他语言环境
    ],
    defaultLocale: Locales.ENGLISH,
  },
  routing: {
    mode: "prefix-no-default", // 默认:除默认语言环境外,为所有语言环境添加前缀
    storage: ["cookie", "header"], // 默认:在 cookie 中存储语言环境并从 header 中检测
  },
};

export default config;
通过此配置文件,您可以设置本地化 URL、路由模式、存储选项、cookie 名称、内容声明的位置和扩展名、禁用控制台中的 Intlayer 日志等。有关可用参数的完整列表,请参阅 配置文档。
第 3 步:在 Vite 配置中集成 Intlayer
将 intlayer 插件添加到您的配置中。
复制代码到剪贴板
import { defineConfig } from "vite";
import preact from "@preact/preset-vite";
import { intlayer } from "vite-intlayer";

// https://vitejs.dev/config/
export default defineConfig({
  plugins: [preact(), intlayer()],
});
intlayer() Vite 插件用于将 Intlayer 与 Vite 集成。它确保构建内容声明文件并在开发模式下监视它们。它在 Vite 应用程序中定义了 Intlayer 环境变量。此外,它还提供别名以优化性能。第 4 步:声明内容
创建并管理您的内容声明以存储翻译:
复制代码到剪贴板
import { t, type Dictionary } from "intlayer";
import type { ComponentChildren } from "preact";

const appContent = {
  key: "app",
  content: {
    viteLogo: t({
      en: "Vite logo",
      fr: "Logo Vite",
      es: "Logo Vite",
    }),
    preactLogo: t({
      en: "Preact logo",
      fr: "Logo Preact",
      es: "Logo Preact",
    }),

    title: "Vite + Preact",

    count: t({
      en: "count is ",
      fr: "le compte est ",
      es: "el recuento es ",
    }),

    edit: t<ComponentChildren>({
      en: (
        <>
          Edit <code>src/app.tsx</code> and save to test HMR
        </>
      ),
      fr: (
        <>
          Éditez <code>src/app.tsx</code> et enregistrez pour tester HMR
        </>
      ),
      es: (
        <>
          Edita <code>src/app.tsx</code> y guarda para probar HMR
        </>
      ),
    }),

    readTheDocs: t({
      en: "Click on the Vite and Preact logos to learn more",
      fr: "Cliquez sur les logos Vite et Preact pour en savoir plus",
      es: "Haga clic en los logotipos de Vite y Preact para obtener más información",
    }),
  },
} satisfies Dictionary;

export default appContent;只要您的内容声明包含在contentDir目录(默认情况下为./src)中,就可以在应用程序的任何位置定义它们。并且需匹配内容声明文件扩展名(默认情况下为.content.{json,ts,tsx,js,jsx,mjs,cjs,md,mdx,yaml,yml})。
有关更多详细信息,请参考 内容声明文档。
如果您的内容文件包含 TSX 代码,您可能需要导入 import { h } from "preact"; 或确保正确设置 Preact 的 JSX pragma。
第 5 步:在代码中使用 Intlayer
在整个应用程序中访问您的内容字典:
复制代码到剪贴板
import { useState } from "preact/hooks";
import type { FunctionalComponent } from "preact";
import preactLogo from "./assets/preact.svg"; // 假设您有 preact.svg
import viteLogo from "/vite.svg";
import "./app.css"; // 假设您的 CSS 文件名为 app.css
import { IntlayerProvider, useIntlayer } from "preact-intlayer";

const AppContent: FunctionalComponent = () => {
  const [count, setCount] = useState(0);
  const content = useIntlayer("app");

  return (
    <>
      <div>
        <a href="https://vitejs.dev" target="_blank">
          <img src={viteLogo} class="logo" alt={content.viteLogo.value} />
        </a>
        <a href="https://preactjs.com" target="_blank">
          <img
            src={preactLogo}
            class="logo preact"
            alt={content.preactLogo.value}
          />
        </a>
      </div>
      <h1>{content.title}</h1>
      <div class="card">
        <button onClick={() => setCount((count) => count + 1)}>
          {content.count}
          {count}
        </button>
        <p>{content.edit}</p>
      </div>
      {/* Markdown 内容 */}
      <div>{content.myMarkdownContent}</div>

      {/* HTML 内容 */}
      <div>{content.myHtmlContent}</div>

      <p class="read-the-docs">{content.readTheDocs}</p>
    </>
  );
};

const App: FunctionalComponent = () => (
  <IntlayerProvider>
    <AppContent />
  </IntlayerProvider>
);

export default App;如果您想在字符串属性中使用您的内容,例如alt、title、href、aria-label等,您必须调用该函数的值,例如:
html复制代码复制代码到剪贴板
注意:在 Preact 中,className通常写作class。
要了解有关useIntlayer钩子的更多信息,请参考 文档(preact-intlayer的 API 类似)。
如果您的应用程序已经存在,您可以结合使用 Intlayer 编译器 和 提取命令 在一秒钟内转换成干个组件。
(可选)第 6 步:更改内容语言
要更改内容的语言,您可以使用 useLocale 钩子提供的 setLocale 函数。此函数允许您设置应用程序的语言环境并相应地更新内容。
复制代码到剪贴板
import type { FunctionalComponent } from "preact";
import { Locales } from "intlayer";
import { useLocale } from "preact-intlayer";

const LocaleSwitcher: FunctionalComponent = () => {
  const { setLocale } = useLocale();

  return (
    <button onClick={() => setLocale(Locales.ENGLISH)}>
      Change Language to English
    </button>
  );
};

export default LocaleSwitcher;要了解有关useLocale钩子的更多信息,请参考 文档(preact-intlayer的 API 类似)。
为您的应用程序添加本地化路由
此步骤的目的是为每种语言设置唯一的路由。这对于 SEO 和 SEO 友好的 URL 非常有用。 示例:
plaintext复制代码复制代码到剪贴板
默认情况下,默认语言环境的路由不带前缀。如果您想为默认语言环境添加前缀,可以在配置中将
routing.mode选项设置为"prefix-all"。有关更多信息,请参阅 配置文档。要为您的应用程序添加本地化路由,您可以创建一个
LocaleRouter组件,该组件包裹您的应用程序路由并处理基于语言环境的路由。以下是使用 preact-iso 的示例:src/components/LocaleRouter.tsx复制代码复制代码到剪贴板
import { localeMap } from "intlayer";
import { IntlayerProvider } from "preact-intlayer";
import { LocationProvider, Router, Route } from "preact-iso";
import type { ComponentChildren, FunctionalComponent } from "preact";

/**
 * 设置特定语言环境路由的路由组件。
 * 它使用 preact-iso 管理导航并渲染本地化组件。
 */
export const LocaleRouter: FunctionalComponent<{
  children: ComponentChildren;
}> = ({ children }) => (
  <LocationProvider>
    <Router>
      {localeMap(({ locale, urlPrefix }) => ({ locale, urlPrefix }))
        .sort((a, b) => b.urlPrefix.length - a.urlPrefix.length)
        .map(({ locale, urlPrefix }) => (
          <Route
            key={locale}
            path={`${urlPrefix}/:rest*`}
            component={() => (
              <IntlayerProvider locale={locale}>{children}</IntlayerProvider>
            )}
          />
        ))}
    </Router>
  </LocationProvider>
);
然后,您可以在应用程序中使用
LocaleRouter组件:src/app.tsx复制代码复制代码到剪贴板
import { LocaleRouter } from "./components/LocaleRouter"; import type { FunctionalComponent } from "preact"; // ... 您的 AppContent 组件 const App: FunctionalComponent = () => ( <LocaleRouter> <AppContent /> </LocaleRouter> ); export default App;在语言环境更改时更改 URL
要在语言环境更改时更改 URL,可以使用
useLocale钩子提供的onLocaleChange属性。同时,您可以使用preact-iso中useLocation的route方法来更新 URL 路径。src/components/LocaleSwitcher.tsx复制代码复制代码到剪贴板
import { useLocation } from "preact-iso";
import {
  Locales,
  getHTMLTextDir,
  getLocaleName,
  getLocalizedUrl,
} from "intlayer";
import { useLocale } from "preact-intlayer";
import type { FunctionalComponent } from "preact";

const LocaleSwitcher: FunctionalComponent = () => {
  const { url, route } = useLocation();
  const { locale, availableLocales, setLocale } = useLocale({
    onLocaleChange: (newLocale) => {
      // 使用更新后的语言环境构建 URL
      // 示例:/es/about?foo=bar
      const pathWithLocale = getLocalizedUrl(url, newLocale);

      // 更新 URL 路径
      route(pathWithLocale, true); // true 表示替换 (replace)
    },
  });

  return (
    <div>
      <button popovertarget="localePopover">{getLocaleName(locale)}</button>
      <div id="localePopover" popover="auto">
        {availableLocales.map((localeItem) => (
          <a
            href={getLocalizedUrl(url, localeItem)}
            hreflang={localeItem}
            aria-current={locale === localeItem ? "page" : undefined}
            onClick={(e) => {
              e.preventDefault();
              setLocale(localeItem);
              // 设置语言环境后的程序化导航将由 onLocaleChange 处理
            }}
            key={localeItem}
          >
            <span>
              {/* 语言环境 - 例如 FR */}
              {localeItem}
            </span>
            <span>
              {/* 该语言环境自身的语言名称 - 例如 Français */}
              {getLocaleName(localeItem, localeItem)}
            </span>
            <span dir={getHTMLTextDir(localeItem)} lang={localeItem}>
              {/* 当前语言环境下的语言名称 - 例如当当前语言环境为 Locales.SPANISH 时显示 Francés */}
              {getLocaleName(localeItem, locale)}
            </span>
            <span dir="ltr" lang={Locales.ENGLISH}>
              {/* 英语名称 - 例如 French */}
              {getLocaleName(localeItem, Locales.ENGLISH)}
            </span>
          </a>
        ))}
      </div>
    </div>
  );
};

export default LocaleSwitcher;
文档参考:
useLocale钩子(preact-intlayer的 API 类似)> -getLocaleName钩子> -getLocalizedUrl钩子> -getHTMLTextDir钩子> -hreflang属性> -lang属性> -dir属性> -aria-current属性> - Popover API
提取组件内容
可选如果您有现有的代码库,转换数千个文件可能会非常耗时。
为了简化此过程,Intlayer 提出了 编译器 / 提取器 来转换您的组件并提取内容。
要进行设置,您可以在
intlayer.config.ts文件中添加compiler部分:intlayer.config.ts复制代码复制代码到剪贴板
import { type IntlayerConfig } from "intlayer"; const config: IntlayerConfig = { // ... 您的其他配置 compiler: { /** * 指示是否应启用编译器。 */ enabled: true, /** * 定义输出文件路径 */ output: ({ fileName, extension }) => `./${fileName}${extension}`, /** * 指示在转换后是否应保存组件。这样,编译器只需运行一次即可转换应用程序,然后即可将其删除。 */ saveComponents: false, /** * 字典键前缀 */ dictionaryKeyPrefix: "", }, }; export default config;运行提取器以转换组件并提取内容
bash复制代码复制代码到剪贴板
(可选)第 9 步:切换 HTML 语言和方向属性
当您的应用程序支持多种语言时,更新 <html> 标签的 lang 和 dir 属性以匹配当前语言环境至关重要。这样做可以确保:
- 无障碍性:屏幕阅读器和辅助技术依靠正确的
lang属性来准确发音和解释内容。 - 文本渲染:
dir(方向)属性确保文本以正确的顺序呈现(例如,英语从左到右,阿拉伯语或希伯来语从右到左),这对于可读性至关重要。 - SEO:搜索引擎使用
lang属性来确定页面的语言,有助于在搜索结果中提供正确的本地化内容。
通过在语言环境更改时动态更新这些属性,您可以确保所有支持语言的用户都能获得一致且无障碍的体验。
实现钩子
创建一个自定义钩子来管理 HTML 属性。该钩子监听语言环境更改并相应地更新属性:
复制代码到剪贴板
import { useEffect } from "preact/hooks";
import { useLocale } from "preact-intlayer";
import { getHTMLTextDir } from "intlayer";

/**
 * 根据当前语言环境更新 HTML <html> 元素的 `lang` 和 `dir` 属性。
 * - `lang`: 通知浏览器和搜索引擎页面的语言。
 * - `dir`: 确保正确的阅读顺序(例如,英语为 'ltr',阿拉伯语为 'rtl')。
 *
 * 这种动态更新对于正确的文本渲染、无障碍访问和 SEO 至关重要。
 */
export const useI18nHTMLAttributes = () => {
  const { locale } = useLocale();

  useEffect(() => {
    // 将语言属性更新为当前语言环境。
    document.documentElement.lang = locale;

    // 根据当前语言环境设置文本方向。
    document.documentElement.dir = getHTMLTextDir(locale);
  }, [locale]);
};
在应用程序中使用钩子
将钩子集成到您的主组件中,以便在语言环境更改时更新 HTML 属性:
复制代码到剪贴板
import type { FunctionalComponent } from "preact";
import { IntlayerProvider } from "preact-intlayer"; // 如果 AppContent 需要,useIntlayer 已导入
import { useI18nHTMLAttributes } from "./hooks/useI18nHTMLAttributes";
import "./app.css";
// 第 5 步中的 AppContent 定义

const AppWithHooks: FunctionalComponent = () => {
  // 应用钩子以根据语言环境更新 <html> 标签的 lang 和 dir 属性。
  useI18nHTMLAttributes();

  // 假设 AppContent 是您在第 5 步中的主要内容显示组件
  return <AppContent />;
};

const App: FunctionalComponent = () => (
  <IntlayerProvider>
    <AppWithHooks />
  </IntlayerProvider>
);

export default App;
(可选)第 10 步:创建本地化链接组件
为了确保您的应用程序导航尊重当前语言环境,您可以创建一个自定义 Link 组件。此组件会自动为内部 URL 添加当前语言前缀。
这种行为在以下几个方面非常有用:
- SEO 和用户体验:本地化 URL 帮助搜索引擎正确索引特定语言的页面,并为用户提供其首选语言的内容。
- 一致性:通过在整个应用程序中使用本地化链接,您可以确保导航保持在当前语言环境内,防止意外的语言切换。
- 可维护性:将本地化逻辑集中在单个组件中可以简化 URL 的管理。
以下是 Preact 中本地化 Link 组件的实现:
复制代码到剪贴板
import { getLocalizedUrl } from "intlayer";
import { useLocale } from "preact-intlayer";
import { forwardRef } from "preact/compat";
import type { JSX } from "preact";

export interface LinkProps extends JSX.HTMLAttributes<HTMLAnchorElement> {
  href: string;
}

/**
 * 检查给定 URL 是否为外部链接的实用函数。
 * 如果 URL 以 http:// 或 https:// 开头,则被视为外部链接。
 */
export const checkIsExternalLink = (href?: string): boolean =>
  /^https?:\/\//.test(href ?? "");

/**
 * 一个自定义 Link 组件,根据当前语言环境自适应 href 属性。
 * 对于内部链接,它使用 `getLocalizedUrl` 为 URL 添加语言环境前缀(例如 /fr/about)。
 * 这确保了导航保持在同一语言环境上下文中。
 */
export const Link = forwardRef<HTMLAnchorElement, LinkProps>(
  ({ href, children, ...props }, ref) => {
    const { locale } = useLocale();
    const isExternalLink = checkIsExternalLink(href);

    // 如果链接是内部的且提供了有效的 href,则获取本地化 URL。
    const hrefI18n =
      href && !isExternalLink ? getLocalizedUrl(href, locale) : href;

    return (
      <a href={hrefI18n} ref={ref} {...props}>
        {children}
      </a>
    );
  }
);

Link.displayName = "Link";
工作原理
- 检测外部链接:
辅助函数checkIsExternalLink确定 URL 是否为外部。外部链接保持不变,因为它们不需要本地化。 - 检索当前语言环境:
useLocale钩子提供当前的语言环境(例如,法语为fr)。 - 本地化 URL:
对于内部链接(即非外部链接),使用getLocalizedUrl自动为 URL 添加当前语言环境的前缀。这意味着如果您的用户处于法语环境,将/about作为href传递将使其转换为/fr/about。 - 返回链接:
该组件返回一个带有本地化 URL 的<a>元素,确保导航与语言环境保持一致。
(可选)第 11 步:渲染 Markdown 和 HTML
Intlayer 支持在 Preact 中渲染 Markdown 和 HTML 内容。
您可以通过使用 .use() 方法自定义 Markdown 和 HTML 内容的渲染。此方法允许您覆盖特定标签的默认渲染。
复制代码到剪贴板
配置 TypeScript
Intlayer 使用模块增强来利用 TypeScript 的优势,使您的代码库更健壮。

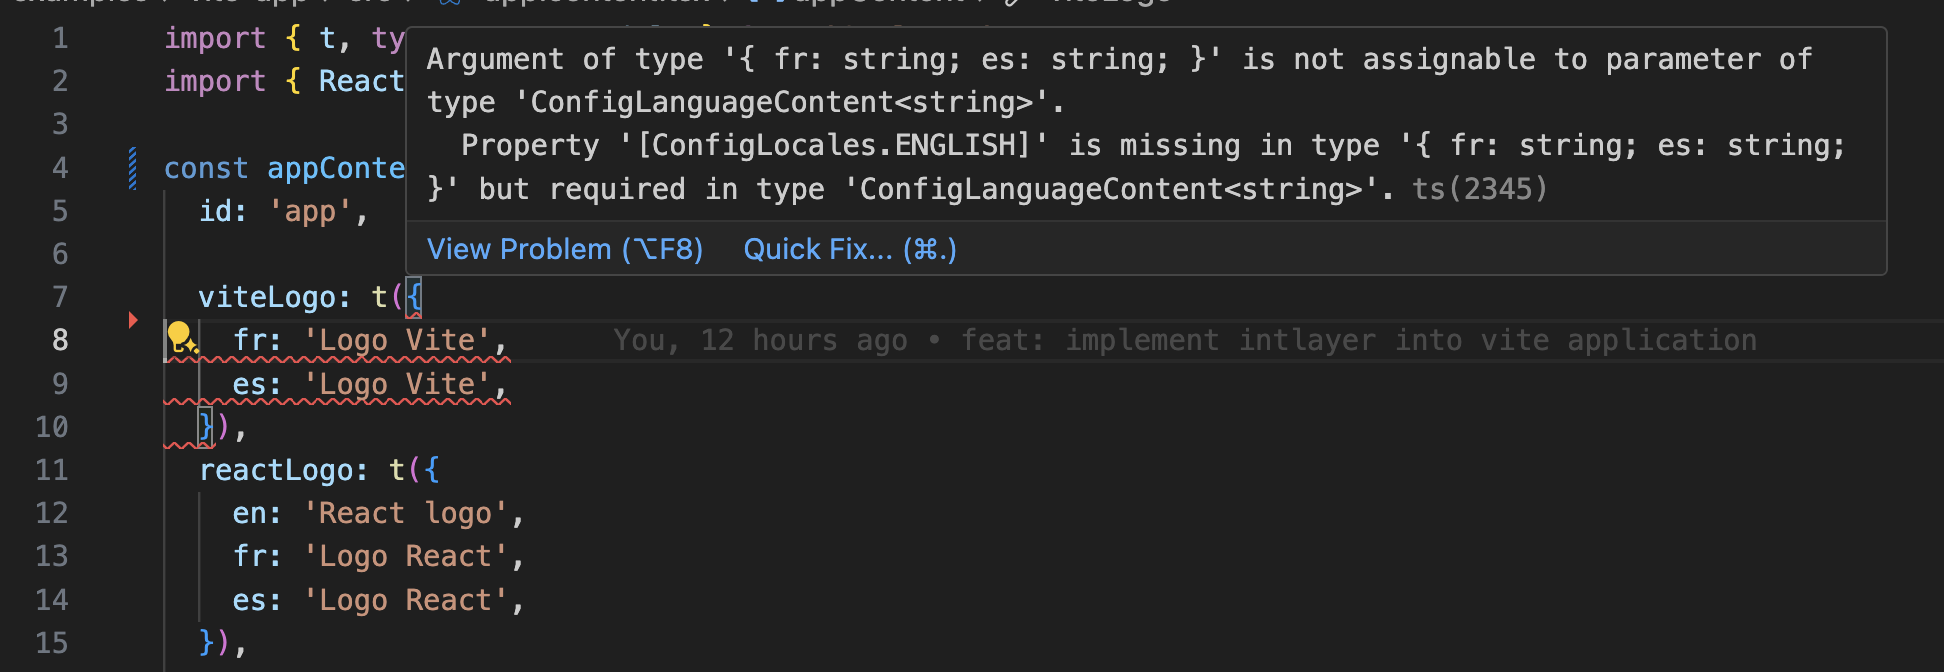
确保您的 TypeScript 配置包含自动生成的类型。
复制代码到剪贴板
确保您的tsconfig.json已为 Preact 设置,特别是jsx和jsxImportSource;如果不使用preset-vite的默认值,对于较旧的 Preact 版本,还需要设置jsxFactory/jsxFragmentFactory。
Git 配置
建议忽略 Intlayer 生成的文件。这样可以避免将它们提交到您的 Git 仓库。
为此,您可以在 .gitignore 文件中添加以下指令:
复制代码到剪贴板
VS Code 扩展
为了提升您使用 Intlayer 的开发体验,您可以安装官方的 Intlayer VS Code 扩展。
此扩展提供:
- 自动补全 翻译键。
- 实时错误检测 缺失的翻译。
- 内联预览 翻译内容。
- 快速操作 轻松创建和更新翻译。
有关如何使用该扩展的更多详细信息,请参考 Intlayer VS Code 扩展文档。
(可选)站点地图与 robots.txt(构建时生成)
Intlayer 提供 generateSitemap 与 getMultilingualUrls,可将面向爬虫的多语言 sitemap.xml 和 robots.txt 格式化并自动写入 public/。实践中在 Vite 之前运行小型 Node 脚本(例如 npm 的 predev / prebuild)即可在构建或开发时生成这些文件。
站点地图
Intlayer 的站点地图生成会尊重你的语言配置,并包含爬虫所需的元数据。
生成的站点地图支持xhtml:link(hreflang)。与只列出扁平 URL 不同,Intlayer 会在各语言版本之间建立双向关联(例如/about、/fr/about或/about?lang=fr,取决于路由模式)。
Robots.txt
使用 getMultilingualUrls,使 Disallow 覆盖敏感路径的每一种本地化写法。
1. 在项目根目录添加 generate-seo.mjs
复制代码到剪贴板
需已安装 intlayer 以便脚本导入。生产环境请设置环境变量 SITE_URL(例如在 CI 中)。
建议在 Node 中使用generate-seo.mjs(ESM)。若使用generate-seo.js,请在package.json中设置"type": "module"或以其他方式启用 ESM。
2. 在运行 Vite 之前执行脚本
复制代码到剪贴板
若使用 pnpm 或 yarn,请相应调整命令;也可在 CI 或其他步骤中调用该脚本。
深入了解
要进一步了解,您可以实现 可视化编辑器 或使用 CMS 将内容外部化。