
Ask your question and get a summary of the document by referencing this page and the AI provider of your choice
Version History
- "Update Solid useIntlayer API usage to direct property access"v8.9.004/05/2026
- "Initial documentation for Astro + Vanilla JS"v8.7.724/04/2026
The content of this page was translated using an AI.
See the last version of the original content in EnglishIf you have an idea for improving this documentation, please feel free to contribute by submitting a pull request on GitHub.
GitHub link to the documentationCopy doc Markdown to clipboard
Translate your Astro + Vanilla JS site with Intlayer | Internationalisation (i18n)
Table of Contents
Why Intlayer over alternatives?
Compared to main solutions like astro-i18n or i18next, Intlayer is a solution that comes with integrated optimizations such as:
Intlayer is optimized to work perfectly with Astro by offering multilingual routing, sitemap, and all the features needed for scaling internationalization (i18n).
Instead of loading massive JSON files into your pages, load only the necessary content. Intlayer helps reduce your bundle and page sizes by up to 50%.
Scoping your application's content facilitates maintenance for large-scale applications. You can duplicate or delete a single feature folder without the mental burden of reviewing your entire content codebase. Additionally, Intlayer is fully typed to ensure your content's accuracy.
Co-locating content reduces the context needed by Large Language Models (LLMs). Intlayer also comes with a suite of tools, such as a CLI to test for missing translations,LSP, MCP, and agent skills, to make the developer experience (DX) even smoother for AI agents.
Use automation to translate in your CI/CD pipeline using the LLM of your choice at the cost of your AI provider. Intlayer also offers a compiler to automate content extraction, as well as a web platform to help translate in the background.
Connecting massive JSON files to components can lead to performance and reactivity issues. Intlayer optimizes your content loading at build time.
More than just an i18n solution, Intlayer provides an self-hosted visual editor and a full CMS to help you manage your multilingual content in real-time, making collaboration with translators, copywriters, and other team members seamless. Content can be stored locally and/or remotely.
Step-by-Step Guide to Configure Intlayer in Astro + Vanilla JS
Check out the application template on GitHub.
Install Dependencies
Install the necessary packages using your preferred package manager:
bashCopy codeCopy the code to the clipboard
intlayer The core package that provides i18n tools for configuration management, translations, content declaration, transpilation, and CLI commands.
astro-intlayer Includes the Astro integration plugin to link Intlayer with the Vite bundler, as well as the middleware to detect the user's preferred language, manage cookies, and handle URL redirects.
vanilla-intlayer A package to integrate Intlayer into Vanilla JavaScript / TypeScript applications. It provides a Pub/Sub singleton (
IntlayerClient) and callback-based helpers (useIntlayer,useLocale, etc.), allowing any part of your Astro<script>tags to respond to language changes without the need for a UI framework.
Configure Your Project
Create a configuration file to define your application's languages:
intlayer.config.tsCopy codeCopy the code to the clipboard
Through this configuration file, you can configure localised URLs, middleware redirects, cookie names, location and extensions of content declarations, disable Intlayer logs in the console, and more. For a full list of available parameters, refer to the configuration documentation.
Integrate Intlayer into Your Astro Configuration
Add the
intlayerplugin to your Astro configuration. For Vanilla JS, no additional UI framework integration is required.astro.config.tsCopy codeCopy the code to the clipboard
The
intlayer()integration plugin is used to integrate Intlayer with Astro. It ensures the generation of the content declaration files and monitors them in development mode. It defines Intlayer environment variables within the Astro application and provides aliases to optimise performance.Declare Your Content
Create and manage your content declarations to store translations:
src/app.content.tsCopy codeCopy the code to the clipboard
Content declarations can be defined anywhere in your application, as long as they are included in the
contentDir(by default./src) and match the content declaration file extension (by default.content.{json,ts,tsx,js,jsx,mjs,cjs,md,mdx,yaml,yml}).For more information, refer to the content declaration documentation.
Using Content in Astro
With Vanilla JS, all server-side rendering happens directly in
.astrofiles usinggetIntlayer. Subsequently, a<script>block initialisesvanilla-intlayeron the client to enable language switching.src/pages/[...locale]/index.astroCopy codeCopy the code to the clipboard
If you want to use your content in a
stringattribute, such asalt,title,href,aria-label, etc., you can use the value of the function, like:htmlCopy codeCopy the code to the clipboard
Note on routing setup: The directory structure you use depends on the
middleware.routingsetting inintlayer.config.ts:prefix-no-default(default): keeps the default language at the root (no prefix) and prefixes others. Use[...locale]to catch all cases.prefix-all: all URLs get a language prefix. You can use standard[locale]if you don't need to handle the root separately.search-paramorno-prefix: no language directories are needed. The language is handled via query parameters or cookies.
Adding a Language Switcher
In Astro with Vanilla JS, the language switcher is rendered on the server as regular links and hydrated on the client via a
<script>block. When a user clicks a language link,vanilla-intlayersets the language cookie viasetLocalebefore navigating to the localised URL.src/pages/[...locale]/index.astroCopy codeCopy the code to the clipboard
Note on persistence:
installIntlayerinitialises the Intlayer singleton with the server-defined locale.useLocalewithonLocaleChangeensures the language cookie is set before navigating via the middleware, so that the user's language preference is remembered in future visits.Note on Progressive Enhancement: The links in the language switcher will work as standard
<a>tags even without JavaScript. When JavaScript is available, calls tosetLocalewill update the cookie before navigating, ensuring the middleware performs the correct redirect.Sitemap and Robots.txt
Intlayer offers utilities to dynamically create your localised sitemap and robots.txt files.
Sitemap
Intlayer comes with a built-in sitemap generator to help you create a sitemap for your application easily. It handles localized routes and adds the necessary metadata for search engines.
The Intlayer generated sitemap supports the
xhtml:linknamespace (Hreflang XML Extensions). Unlike the default sitemap generators that only list raw URLs, Intlayer automatically creates the required bidirectional links between all language versions of a page (e.g.,/about,/about?lang=fr, and/about?lang=es). This ensures search engines correctly index and serve the right language version to the right audience.Create
src/pages/sitemap.xml.tsto generate a sitemap including all your localised routes.src/pages/sitemap.xml.tsCopy codeCopy the code to the clipboard
Robots.txt
Create
src/pages/robots.txt.tsto control search engine crawling.src/pages/robots.txt.tsCopy codeCopy the code to the clipboard
Extract the content of your components
OptionalIf you have an existing codebase, transforming thousands of files can be time-consuming.
To ease this process, Intlayer propose a compiler / extractor to transform your components and extract the content.
To set it up, you can add a
compilersection in yourintlayer.config.tsfile:intlayer.config.tsCopy codeCopy the code to the clipboard
import { type IntlayerConfig } from "intlayer"; const config: IntlayerConfig = { // ... Rest of your config compiler: { /** * Indicates if the compiler should be enabled. */ enabled: true, /** * Defines the output files path */ output: ({ fileName, extension }) => `./${fileName}${extension}`, /** * Indicates if the components should be saved after being transformed. * * - If `true`, the compiler will rewrite the component file in the disk. So the transformation will be permanent, and the compiler will skip the transformation for the next process. That way, the compiler can transform the app, and then it can be removed. * * - If `false`, the compiler will inject the `useIntlayer()` function call into the code in the build output only, and keep the base codebase intact. The transformation will be done only in memory. */ saveComponents: false, /** * Dictionary key prefix */ dictionaryKeyPrefix: "", }, }; export default config;Run the extractor to transform your components and extract the content
bashCopy codeCopy the code to the clipboard
TypeScript Configuration
Intlayer uses module augmentation to leverage TypeScript, making your codebase more robust.

Ensure your TypeScript configuration includes the autogenerated types.
Copy the code to the clipboard
Git Configuration
It is recommended to ignore the files generated by Intlayer. This avoids committing them to your Git repository.
To do this, add the following instructions to your .gitignore file:
Copy the code to the clipboard
VS Code Extension
To improve your development experience with Intlayer, you can install the official Intlayer VS Code extension.
Installation from the VS Code Marketplace
This extension provides:
- Autocompletion for translation keys.
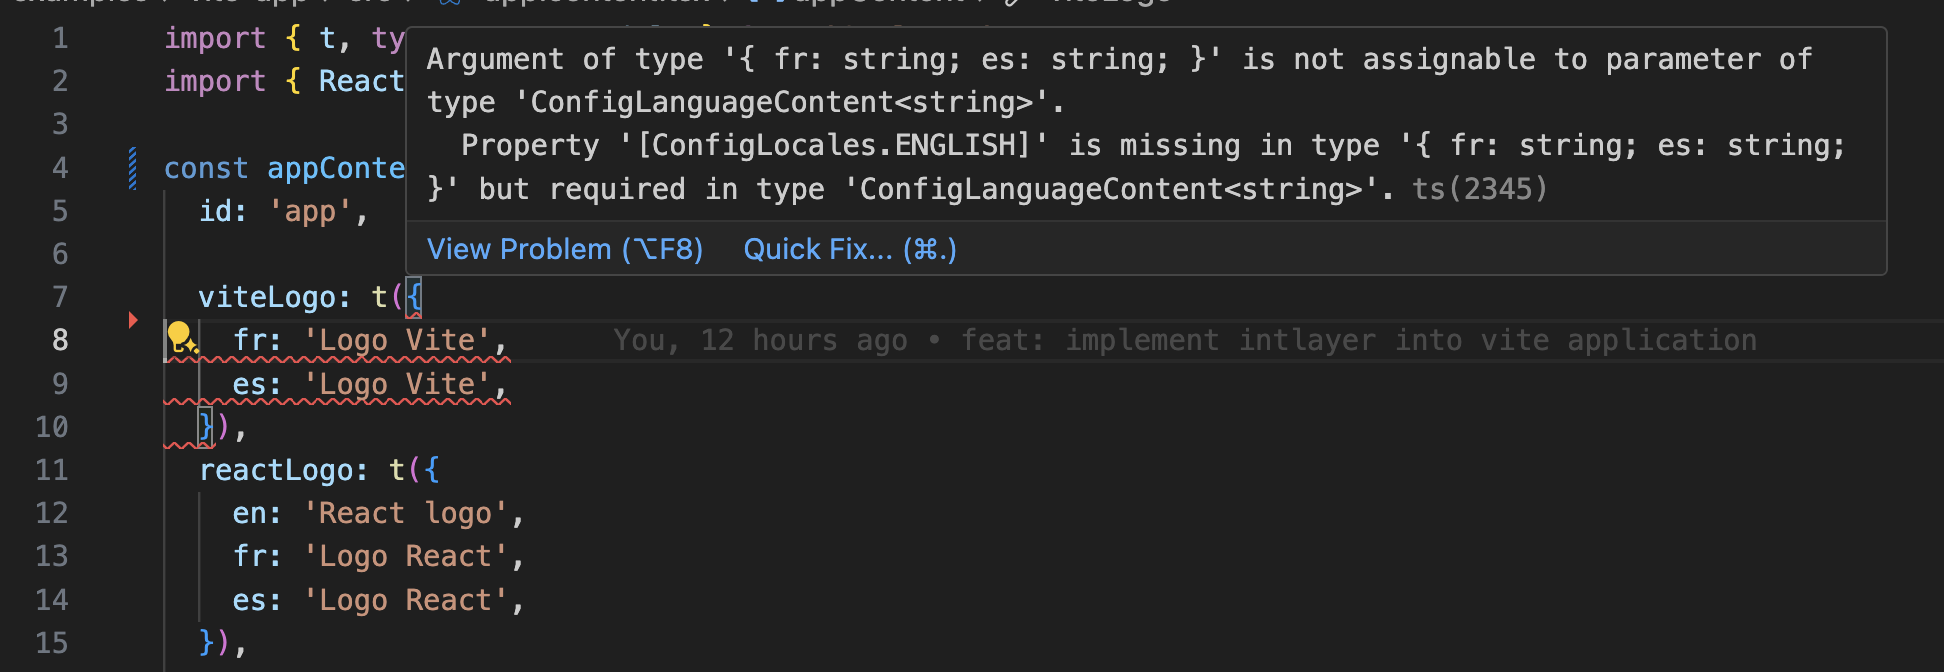
- Real-time error detection for missing translations.
- Inline preview of translated content.
- Quick actions for easily creating and updating translations.
For more information on using the extension, refer to the VS Code Extension documentation.
Deepen Your Knowledge
If you want to learn more, you can also implement the Visual Editor or use the CMS to externalise your content.